How to get a nail look from a photo (DIY vs salon)
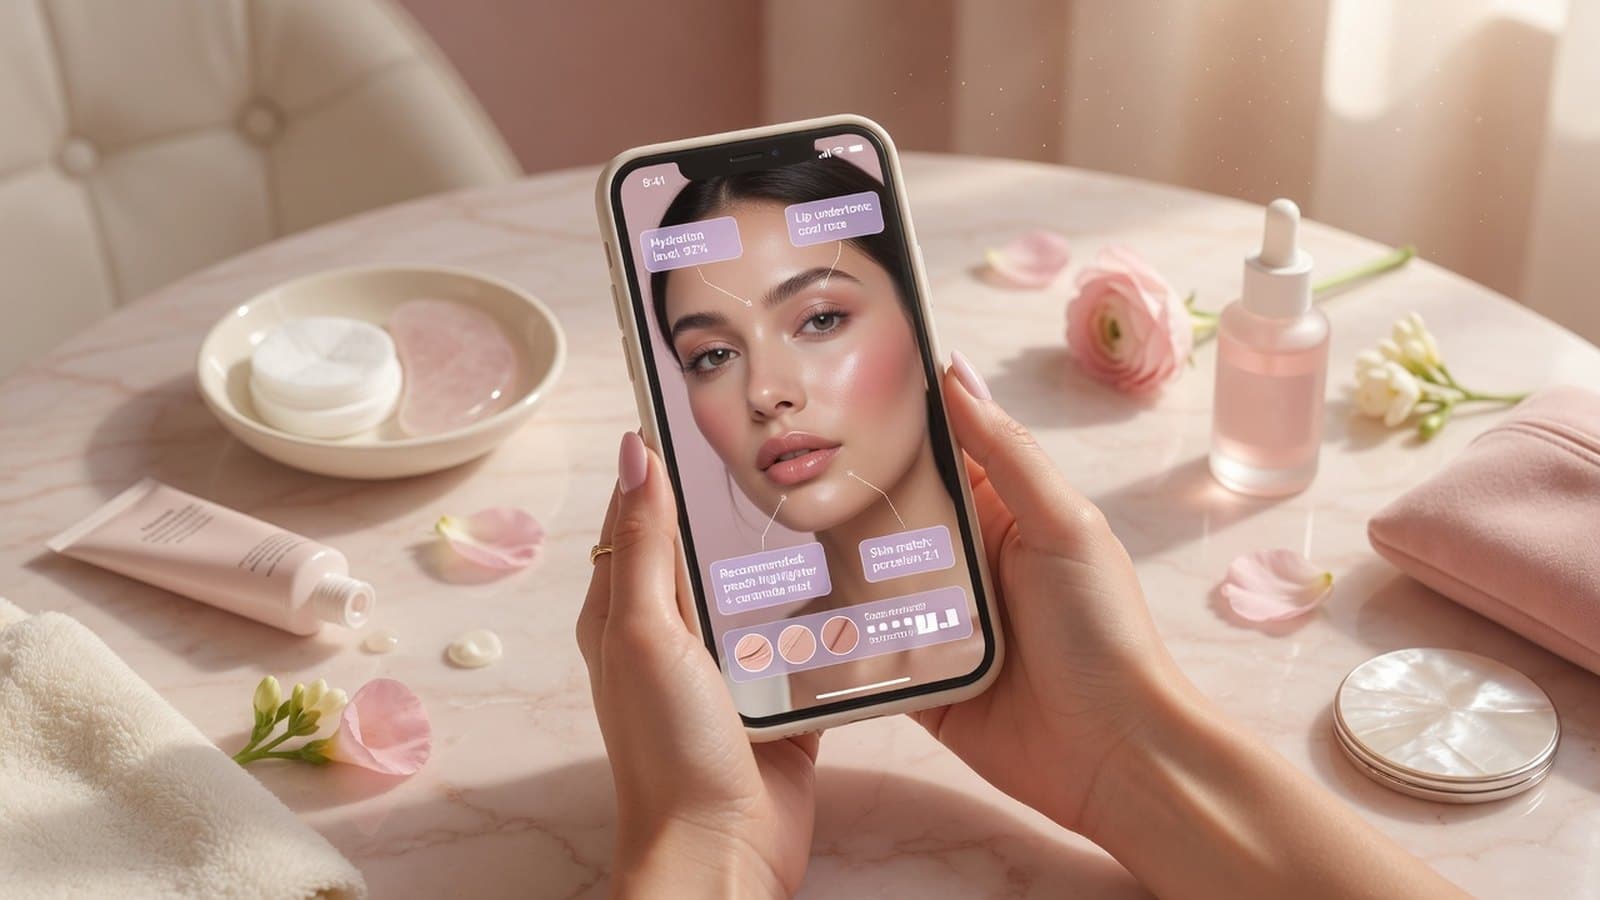
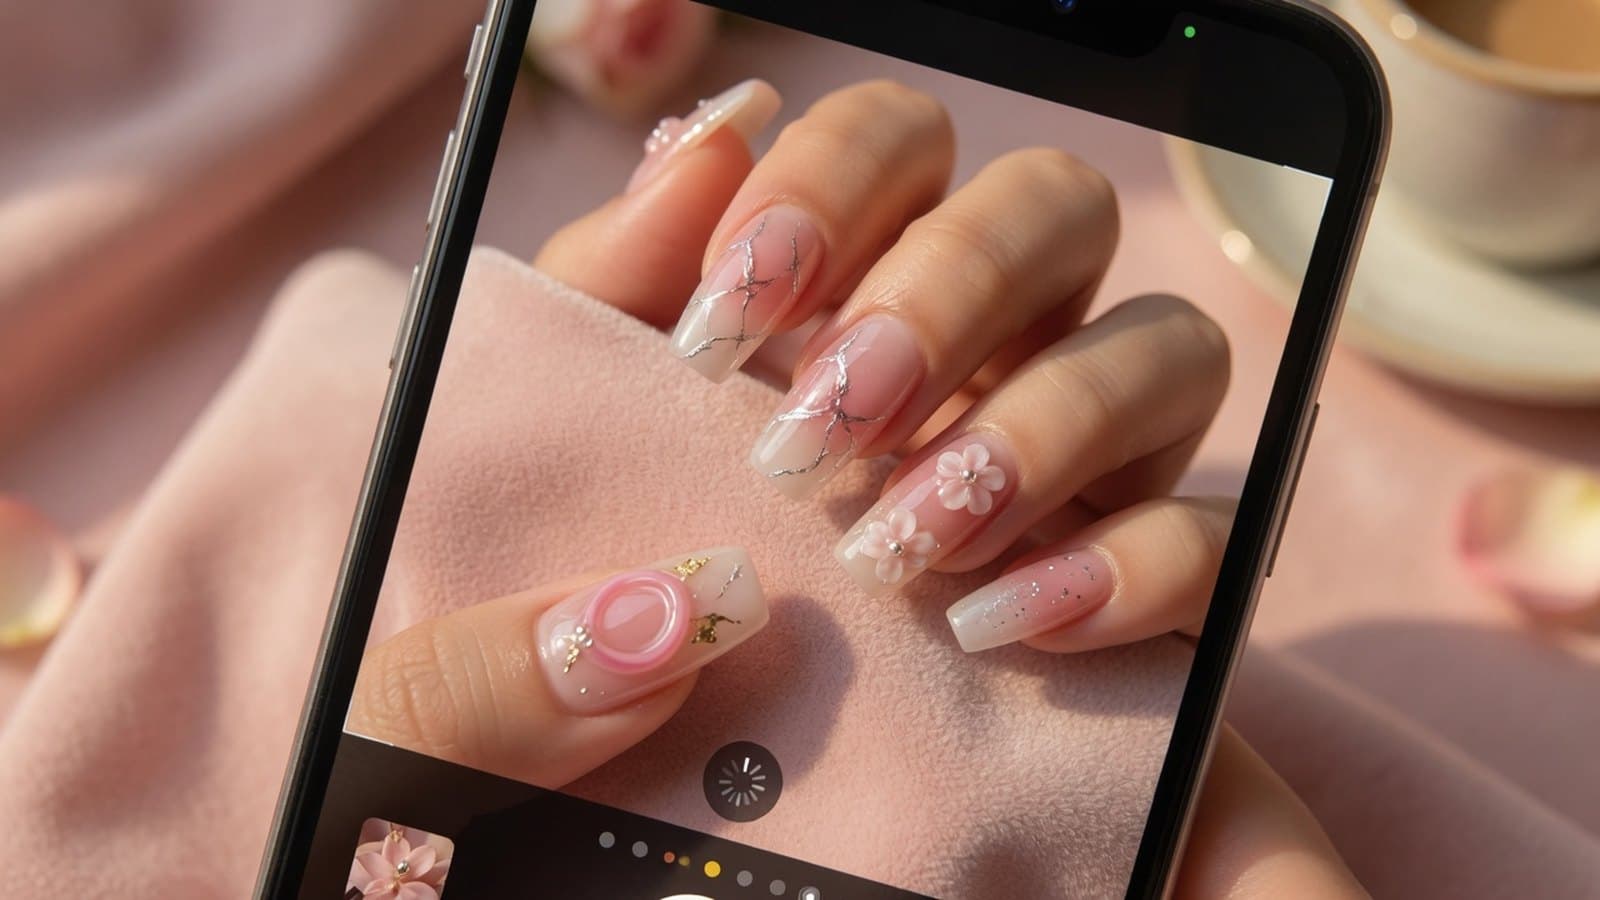
Step-by-step: use goBeauty Get This Look to turn a nail photo into DIY steps, product ideas, or a salon booking decision.
Start with a clear photo
Use a well-lit photo of the finished nails, preferably from above with fingers flat. Avoid heavy filters. The clearer the shape, color, and art details, the more accurate the analysis.
Read the plan, not just the label
goBeauty describes the look (for example chrome, French, 3D charms), why it works, and how it is usually achieved. Difficulty and time estimates help you decide if home tools are enough.
If the plan points to advanced techniques (builder gel extensions, intricate 3D art), booking a pro usually saves rework and product waste.
DIY vs book a pro — a simple rule
Choose DIY when the look is polish-only or simple art and you already own base, color, and top coat. Choose a salon when the look needs extensions, structured gel, or long appointment time.
- DIY: solid color, classic French, simple stickers
- Salon: extensions, complex chrome layering, multi-hour art sets
- Shop: when the analysis names specific product types (base, chrome powder, top coat)
Related questions
Can goBeauty book my salon appointment?
Try it on goBeauty
Analyze a look, shop products, or find pros nearby.